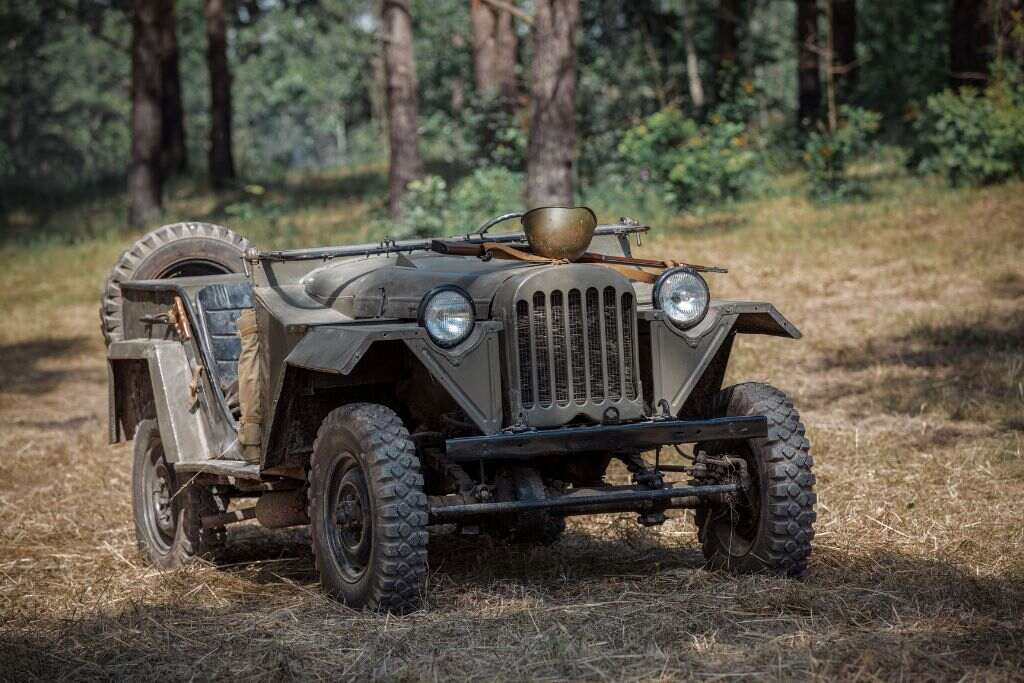
Breathing new life into a classic vehicle requires attention to detail and much more. Explore this brief guide on the vintage Jeep restoration process.
Restoring a vintage Jeep is more than just a mechanical task; it’s a journey into the past, a tangible connection to the rich history of automotive design and engineering. The restoration process offers a unique blend of challenges and rewards to captivate your interest and ignite your passion.
You need the knowledge to succeed, whether you want to restore a beloved family heirloom or create a unique showpiece for your collection. This brief guide on the vintage Jeep restoration process will walk you through everything from the initial inspection and teardown to the finishing touches.
Planning and Assessment
The first step is to plan the project and assess the vintage Jeep’s condition to prioritize performance elements and manage your time. Look for any significant structural damage, such as rust or dents, and take note of every part’s overall condition. Once you clearly understand what you need to repair or replace, you can plan your restoration project in detail.
Disassembly and Cleaning
Disassembly requires meticulous attention to detail. Use a camera or smartphone to take pictures at various stages, particularly before removing intricate parts, such as the engine or the gearbox. These references will assist in reassembly, ensuring each part returns to its correct location. After disassembling, you may find hardened grease, oil stains, rust, or dirt on the parts. A good cleaning solution, degreaser, and stiff brush can help remove stubborn grime.
Repair and Replacement
Once all the components are clean and ready, it’s time to repair or replace the parts with the most damage or wear. This process might involve sourcing replacement components or refurbishing existing ones, especially crucial elements like vintage Jeep wheels and tires. Ensure you preserve the original pieces as much as possible to maintain the Jeep’s vintage allure.
Painting and Finishing
The Jeep is ready for paint to maintain the outer layer and get it looking fresh and ready. This step includes not only the exterior but also the chassis, engine bay, and other details. Choose high-quality automotive paint, like GCI paint, and follow the proper painting process, from priming to the final clear coat, to achieve a high-quality finish.
Reassembly and Final Inspection
Start with the frame, move to the engine and transmission, work on the interior, and finally, the exterior body parts. Refer to the pictures you took during disassembly to ensure you install each component correctly. As you reattach the parts, double-check their condition, including the wire harnesses, nuts, and bolts, and replace the worn-out ones.
Following this brief guide on the vintage Jeep restoration process requires a deep sense of commitment, a fair amount of patience, and a great deal of respect for the vehicle. However, seeing the finished product, with its classic lines and timeless appeal, will make all your hard work worthwhile.
Comments are closed.